
Stop Chimney Leaks for Good
The chimney is the #1 spot a roof starts to leak. We tear out the old flashing and install new step and counter flashing the right way — no tar, no caulk-only patch jobs.
MA HIC #21659 · Licensed & insured · Veteran-owned
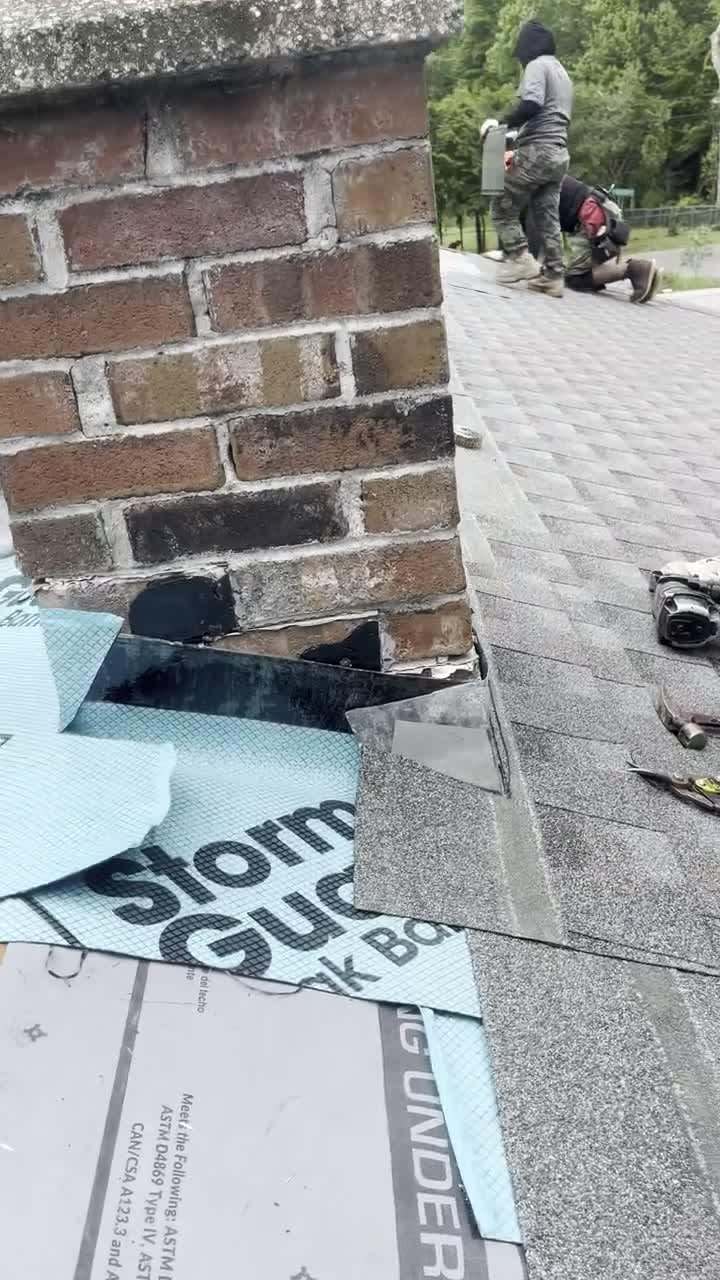
Is Your Chimney Leaking?
Ceiling Stains
Brown spots or bubbling paint on the ceiling or wall near the chimney.
Damp Attic
Wet wood, mold or drips around the chimney in your attic after it rains.
Old or Loose Flashing
Rusted, bent or lifted metal where the chimney meets the roof.
Tar & Caulk Patches
Globs of tar or caulk are a band-aid — they crack and let water back in.
How We Flash a Chimney the Right Way
Real footage from one of our chimney jobs — hit play on any step.
- STEP 1
Inspect the Old Flashing
We show you exactly where water is getting in — gaps, rust and failed sealant.
- STEP 2
Cut Into the Mortar
A clean groove is cut into the mortar joint so the new flashing tucks into the brick.
- STEP 3
Step Flashing
Leak barrier goes down, then step flashing is woven in with every course of shingles.
- STEP 4
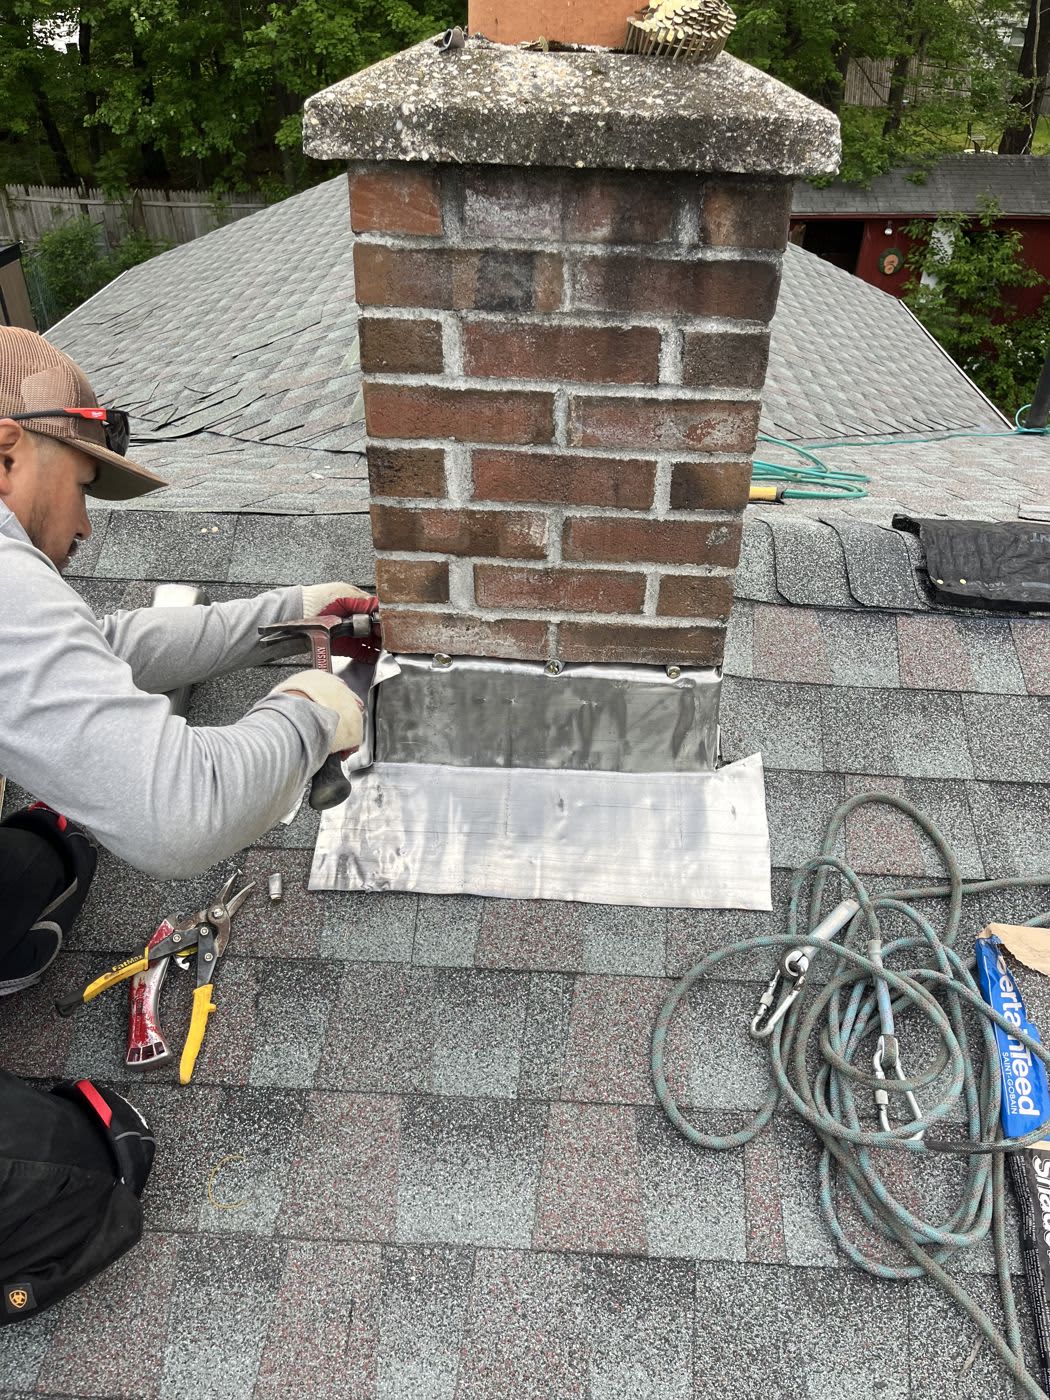
Counter Flashing
Counter flashing is set into the groove and laps over the step flashing to shed water.
- STEP 5
Seal & Finish
Everything sealed tight, then a full cleanup and photos of the finished work.
Will Walks You Through a Chimney Job
No sales pitch — just the owner of Viva on the roof, showing you what we do and why it matters. The same crew that quotes your job is the crew that does it.
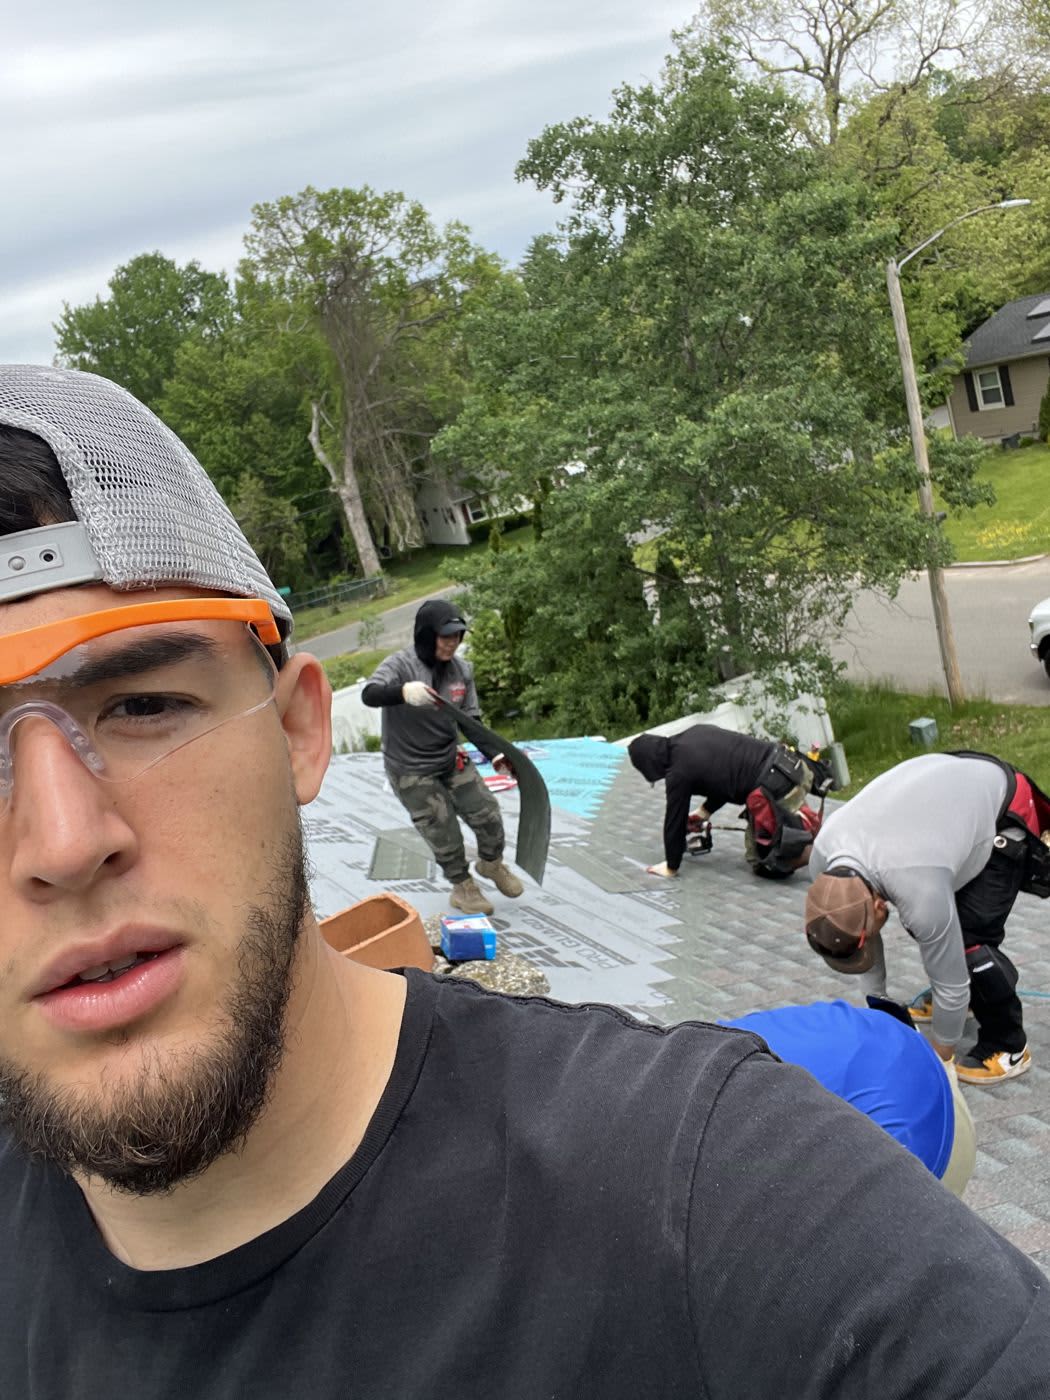
Chimney Gallery
Real photos and video from our own chimney jobs — no stock images.
On the job
Photos
Leak by the chimney?
Don't wait for the ceiling to stain. Book a free inspection and we'll show you exactly what's going on — with photos.